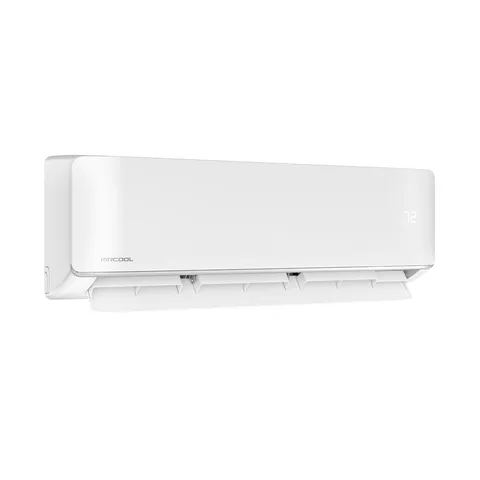
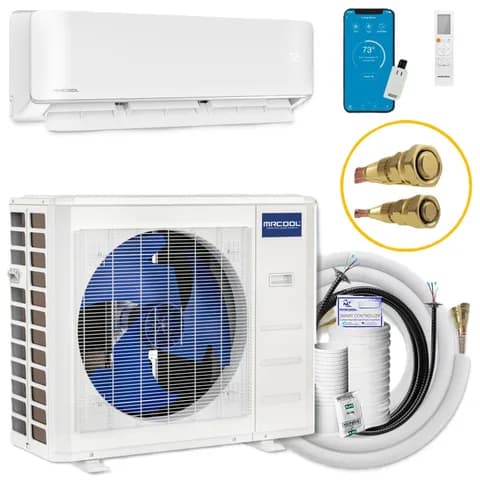
Short version: a mini split is usually the smartest way to heat and cool a room addition — cheaper, cleaner, and far less disruptive than extending your central ducts into the new space. An addition is a load your existing system was never sized for, and running new supply and return runs to it is expensive when it's even possible. A single ductless zone sidesteps all of that: it conditions the addition independently, heats as well as it cools, and never touches the system that already keeps the rest of the house comfortable. Here's how to plan one, from the room-addition best-of down to the line set.
Why not just extend the central air?
It's the first instinct — you have a furnace and ducts, so tap into them. In practice, extending central air to an addition is the expensive, disruptive path. New ductwork means opening walls, ceilings, or crawlspaces to run supply and return, and additions are often at the far end of the house where that's hardest. Worse, your existing furnace or air handler was sized for the original house. Bolting on another room of load can leave the whole system short of capacity, so the new space is stuffy and the old rooms suffer too. A mini split adds an independent zone — its own thermostat, its own capacity, sized for the addition alone — without asking your aging central system to do more than it already does. And because it's a heat pump, it handles winter as well as summer. That's the core of the mini split vs central air comparison, and for an addition it lands firmly on the ductless side.
Sizing to the addition's own load
Size the unit to the addition, not to the house. A reasonable starting point is roughly 20 BTU per square foot — so a 400-square-foot addition points toward a 9,000 BTU head, give or take. That's a starting figure, not the final answer, because additions tend to have features that push the load up:
- Lots of glass. New additions love big windows and sliders. Glass gains and loses heat far faster than a wall, so a glassy addition needs more capacity than its floor area suggests.
- Cathedral or vaulted ceilings. More air volume to condition, and heat that stratifies toward the peak in winter.
- Floors over unconditioned space. A room built over a garage, porch, or crawlspace loses heat through the floor.
Nudge the estimate up for any of those, and down for a tight, well-insulated box. The mini split sizing guide walks through adjusting for exposure so you don't oversize (short-cycling, poor dehumidification) or undersize (never keeps up on the worst day).
One zone or two?
For a typical single-room addition, one single-zone mini split is the right answer — one outdoor unit, one head, one line set, and better efficiency than a multi-zone doing the same job. Reach for a two-zone system only when the addition is genuinely two spaces: a primary suite with a separate sitting area or bath, or an in-law addition with a bedroom and a living area you want controlled independently. If it's one open bonus room, don't overcomplicate it. Our single vs multi-zone breakdown covers where the line falls, but the default for an addition is single-zone.
Placement and the line set
The outdoor unit should mount near the addition — on the addition's own exterior wall or a nearby foundation pad — which keeps the connecting line set short and the install simple. That matters because line-set length has limits: every system has a maximum run and a maximum vertical rise between the indoor head and the condenser, and long runs also cost a little capacity. For a far-flung addition at the opposite corner of the house, plan the condenser location so you stay well inside those limits rather than snaking pipe across the whole building. The line sets explained guide covers the length and rise limits and why keeping the run tidy pays off.
Bonus rooms over a garage: size and insulate for exposure
Rooms built over a garage are the trickiest additions. The floor sits above unconditioned space, and these rooms usually have exposed walls or roof on several sides, so they run hot in summer and cold in winter — well beyond what the square footage implies. Two moves fix it. First, seal and insulate before you size: air-seal the floor and rim joists over the garage and get real insulation in the floor, walls, and roof, because no amount of BTUs beats a leaky box cheaply. Second, if you'll use the room through winter, choose a cold-climate model that holds heating output as temperatures drop, since an exposed room over a cold garage loses heat fast on the worst nights.
It future-proofs the addition
There's a quieter benefit worth naming: a mini split decouples the addition's comfort from your central system's health. When the furnace or AC eventually ages out, the addition keeps heating and cooling on its own independent zone — you're not re-engineering the new room's comfort every time the old equipment gets replaced. For most additions the install is also straightforward and predictable; see installation cost for what shapes the price.
The bottom line
For a room addition or bonus room: skip the duct extension, add one independent ductless zone sized to the addition's real load, mount the condenser close to keep the line set short, and go cold-climate if the space — especially one over a garage — gets used in winter. Do that and the new room is comfortable year-round without leaning on the system that runs the rest of the house. Start with our room-addition best-of to shortlist units at the right capacity.